A GPX file adds a particular route to your art. You do not need one to make a landscape poster. Start with a place, a whole country or US state, or an area you choose within a place, and let the terrain be the subject.
Customize Yosemite Valley1. Start from a place
For a ready-made starting area, open Places to start from and select an Iconic location, such as Yosemite Valley. Its button opens the creator with the location and a poster style already chosen. Yosemite Valley opens in Ridgeline.
For somewhere else, open the creator and choose Search a place. Enter a town, mountain or park. Select a search result, checking its region and address when several places share a name.
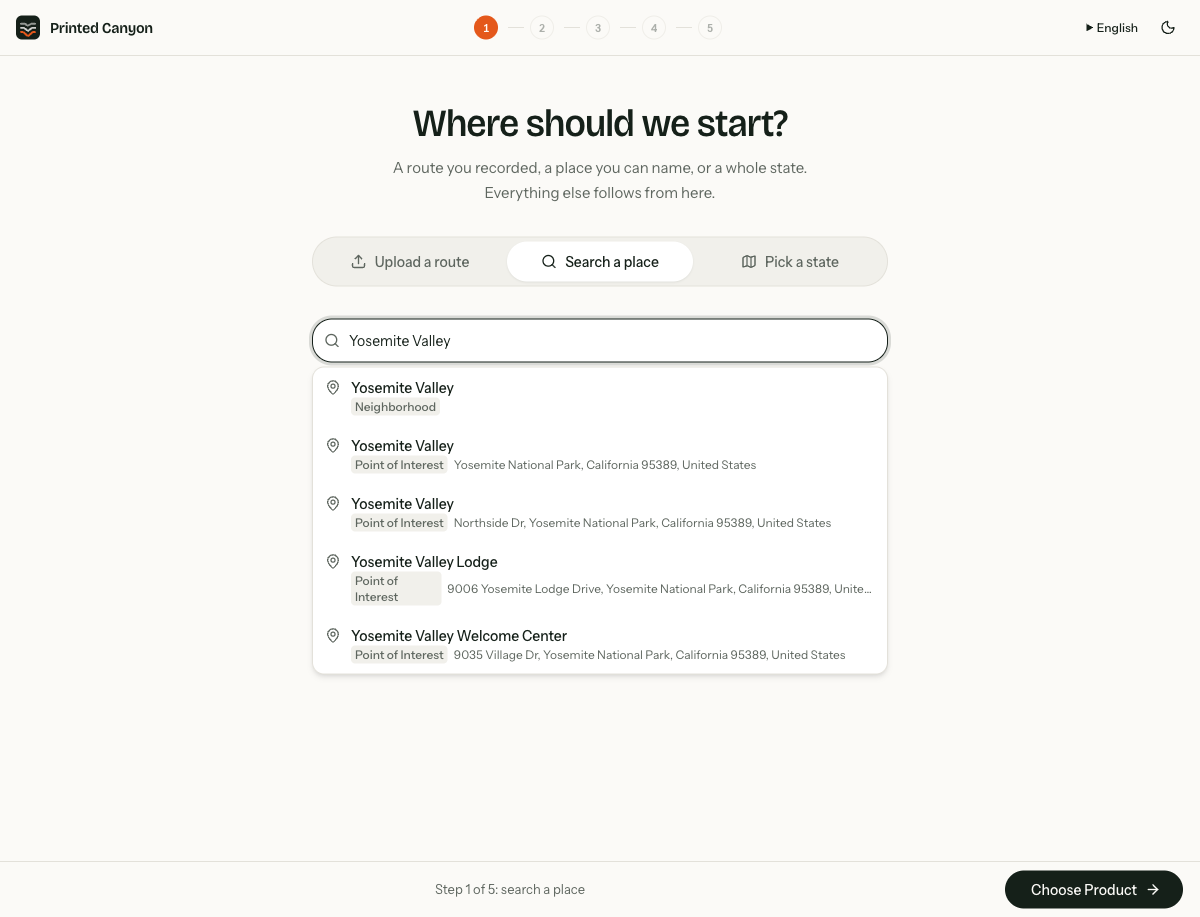
Check the outlined area on the map. It shows the selected extent; the small location map is a confirmation view. Select Choose Product, choose Ridgeline, and continue to the studio. The curated Yosemite example and a search result can cover different extents, so they need not produce identical artwork.
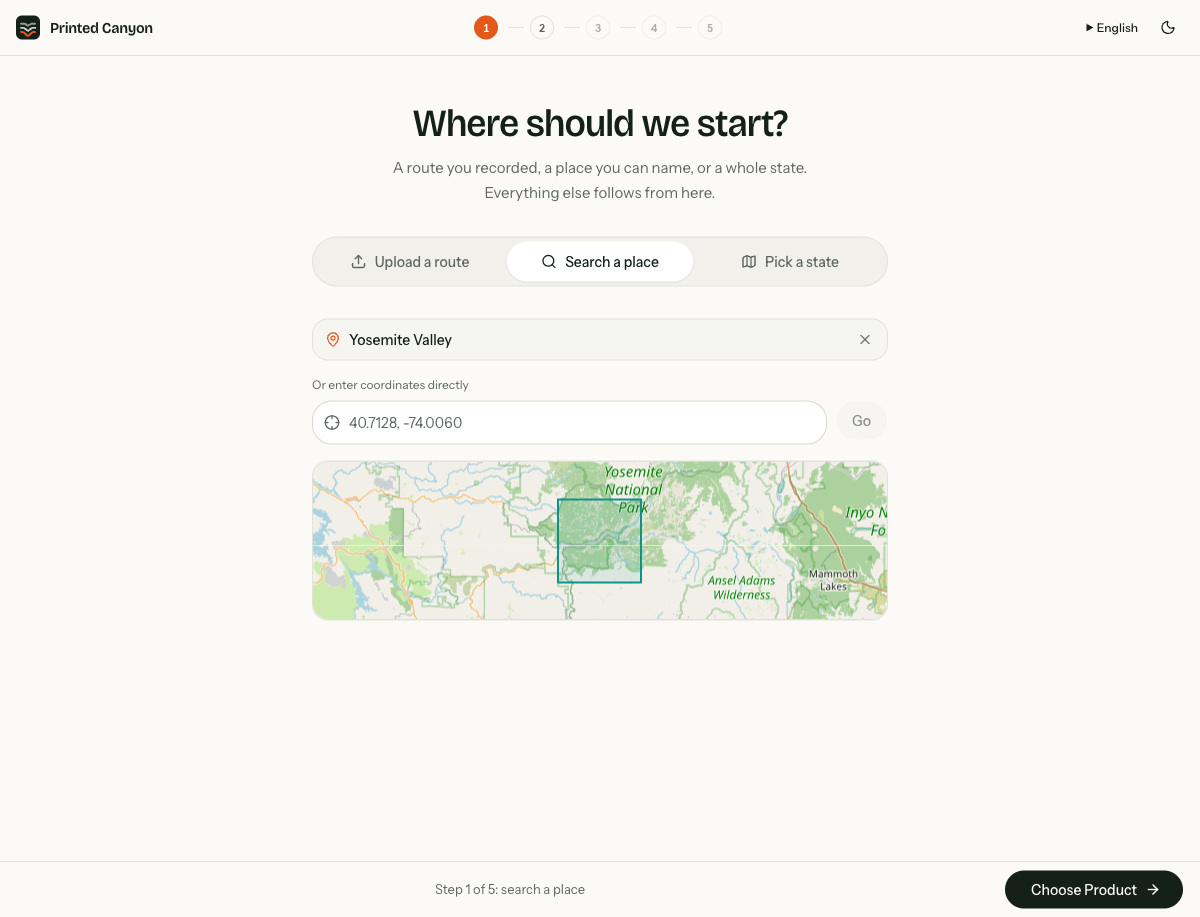
If a place is difficult to find by name, use Or enter coordinates directly. Enter latitude first, then longitude, separated by a comma, and select Go. Check the resulting area before continuing.
2. Make a portrait of a country or US state
In the location step, choose Country or state. Type a name into Find a country or state, then select its card. In this example we searched for and selected Colorado; a country such as Japan or Italy works the same way. Continue with Choose Product and pick a poster style.
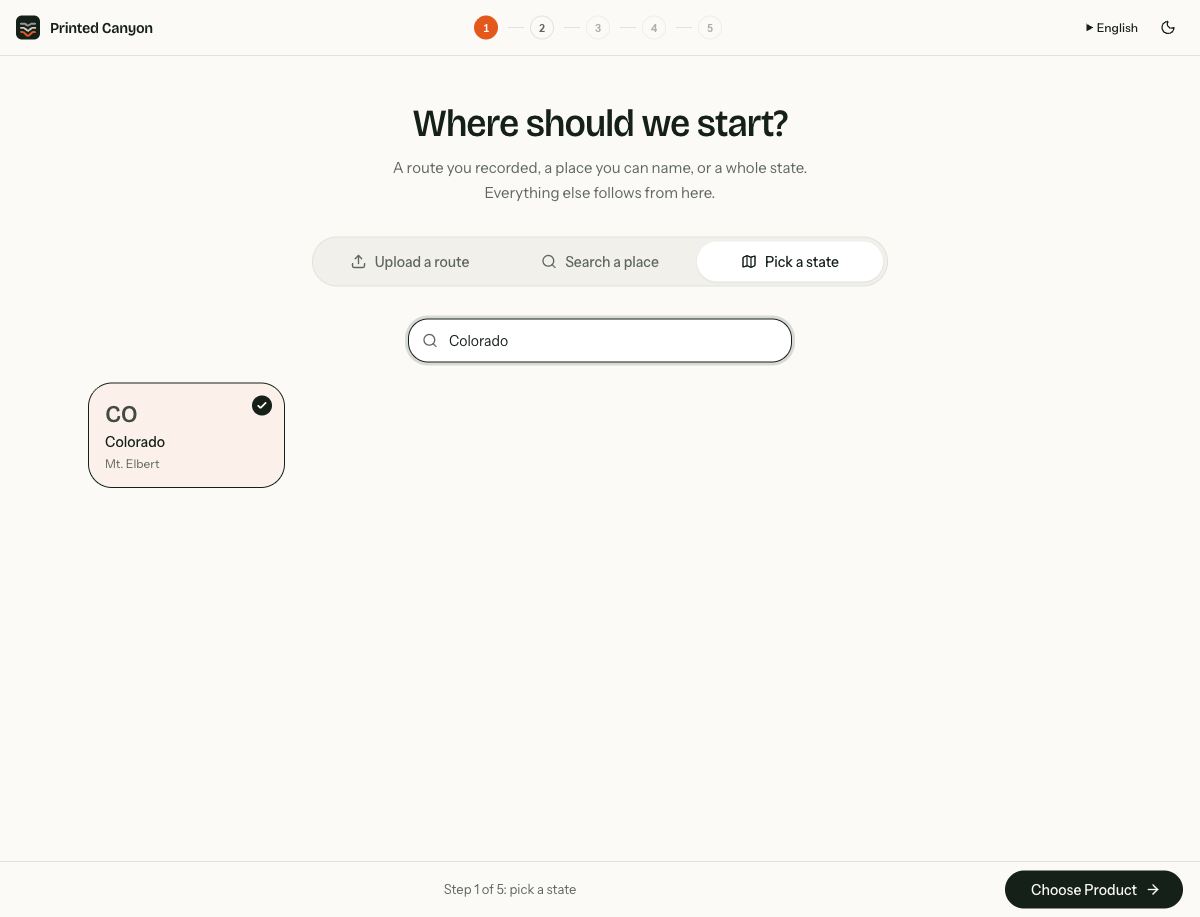
Use this path when a whole country or state is the subject. To focus on a particular mountain range or town within it, use Search a place instead. The home page also includes curated country and state examples if you want a suggested design to customize.
3. Shape a selected map area
For control over the outline, start with a searched place and choose Ridgeline. In the studio’s Layout controls, expand Clip artwork. These are the place-based Ridgeline controls shown below; other styles have different settings.
Select a shape such as Circle, Hexagon or Rectangle. To select your own area, choose Draw, click around the desired boundary on the map, and finish by clicking the first point. Drag the polygon’s points to refine it. Keep your selection within the place’s outlined area.
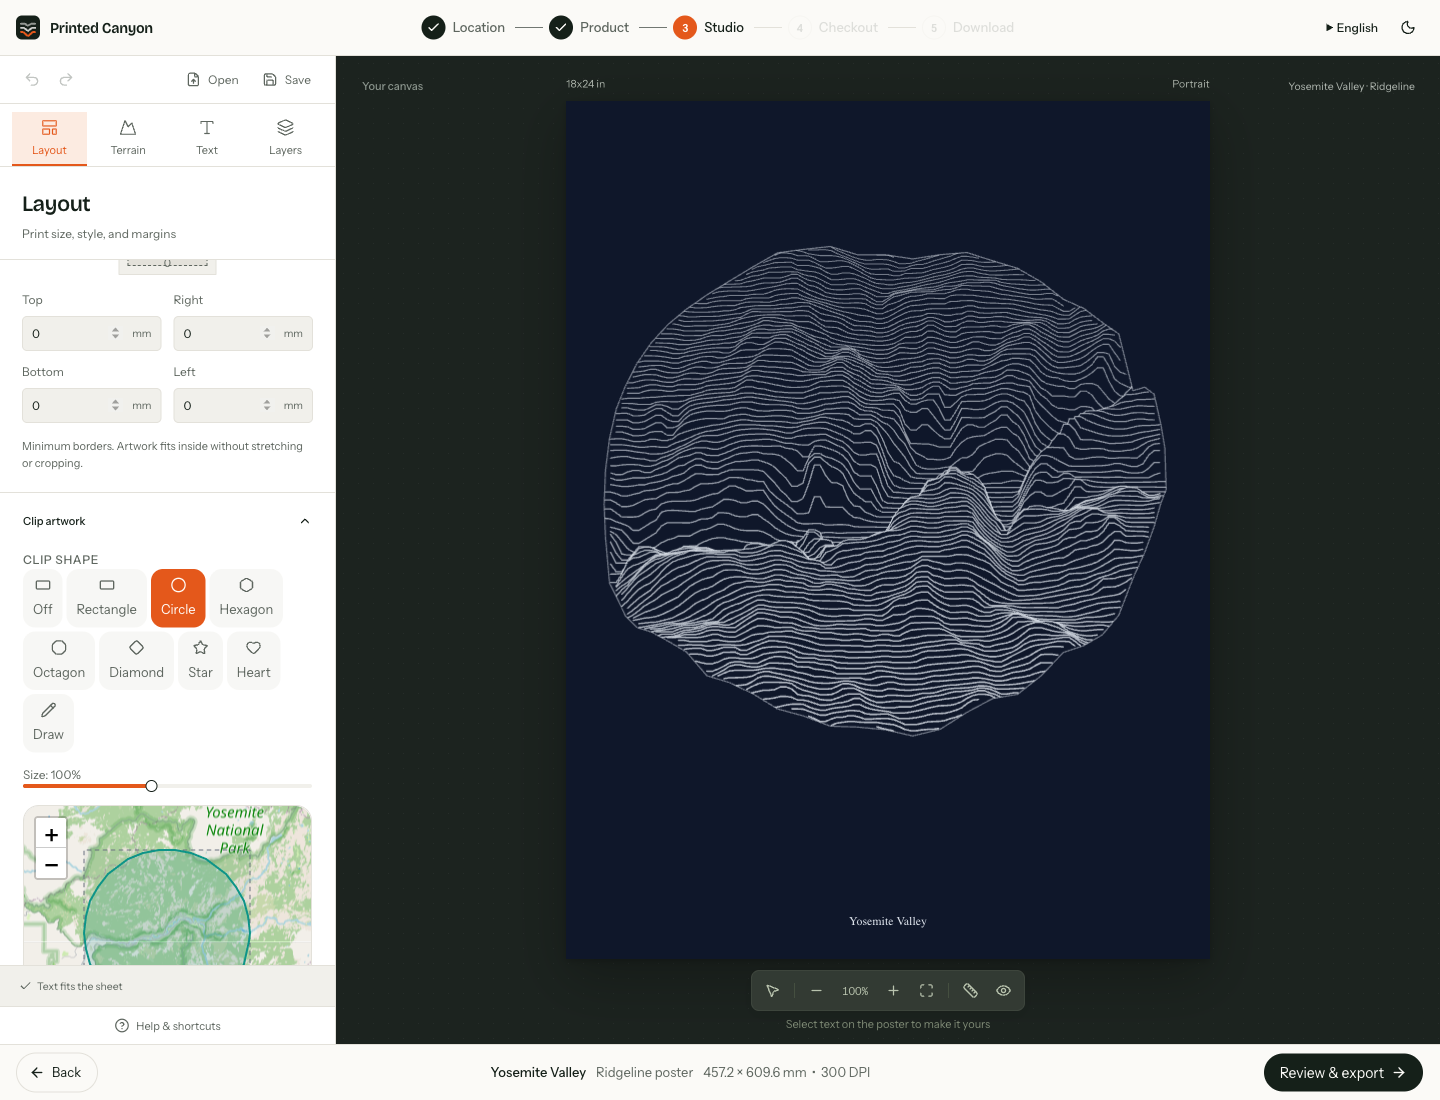
Watch the artwork update after changing the selection. Use Off to remove the clip. Under Artwork framing, adjust Terrain zoom, Horizontal framing and Vertical framing to position the terrain on the sheet. The canvas zoom buttons only change how closely you view your workspace.
4. Finish the poster and choose a print file
Choose a layout and colors, edit the poster text, and set the paper size and borders. Check that the terrain and labels fit the sheet, then use Review & export in Ridgeline. Complete the pay-what-you-want checkout and save your PNG, PDF or SVG.
Choose PDF when a print shop wants a page at a defined size, PNG for an image upload, or SVG for a vector-editing workflow. Confirm your printer’s requirements first. The Half Dome tutorial’s format comparison explains the checks to make before printing.
Want a trail line as well as the landscape? Follow How to find and upload GPX files, then make a route-based poster.
A place is enough to begin
Start with the curated Yosemite Valley area and shape your own Ridgeline poster.
Customize Yosemite ValleyHow this guide was made: we used Printed Canyon’s preview build to capture these creator screens. The Half Dome tutorial includes the artwork downloaded from that workflow. Screens show the English interface.