Start with the bundled Half Dome route, give it sandstone-colored elevation bands, then download a poster you can print. This walkthrough uses the actual creator and its exported artwork. You can repeat it without finding a GPX file first.
Customize this example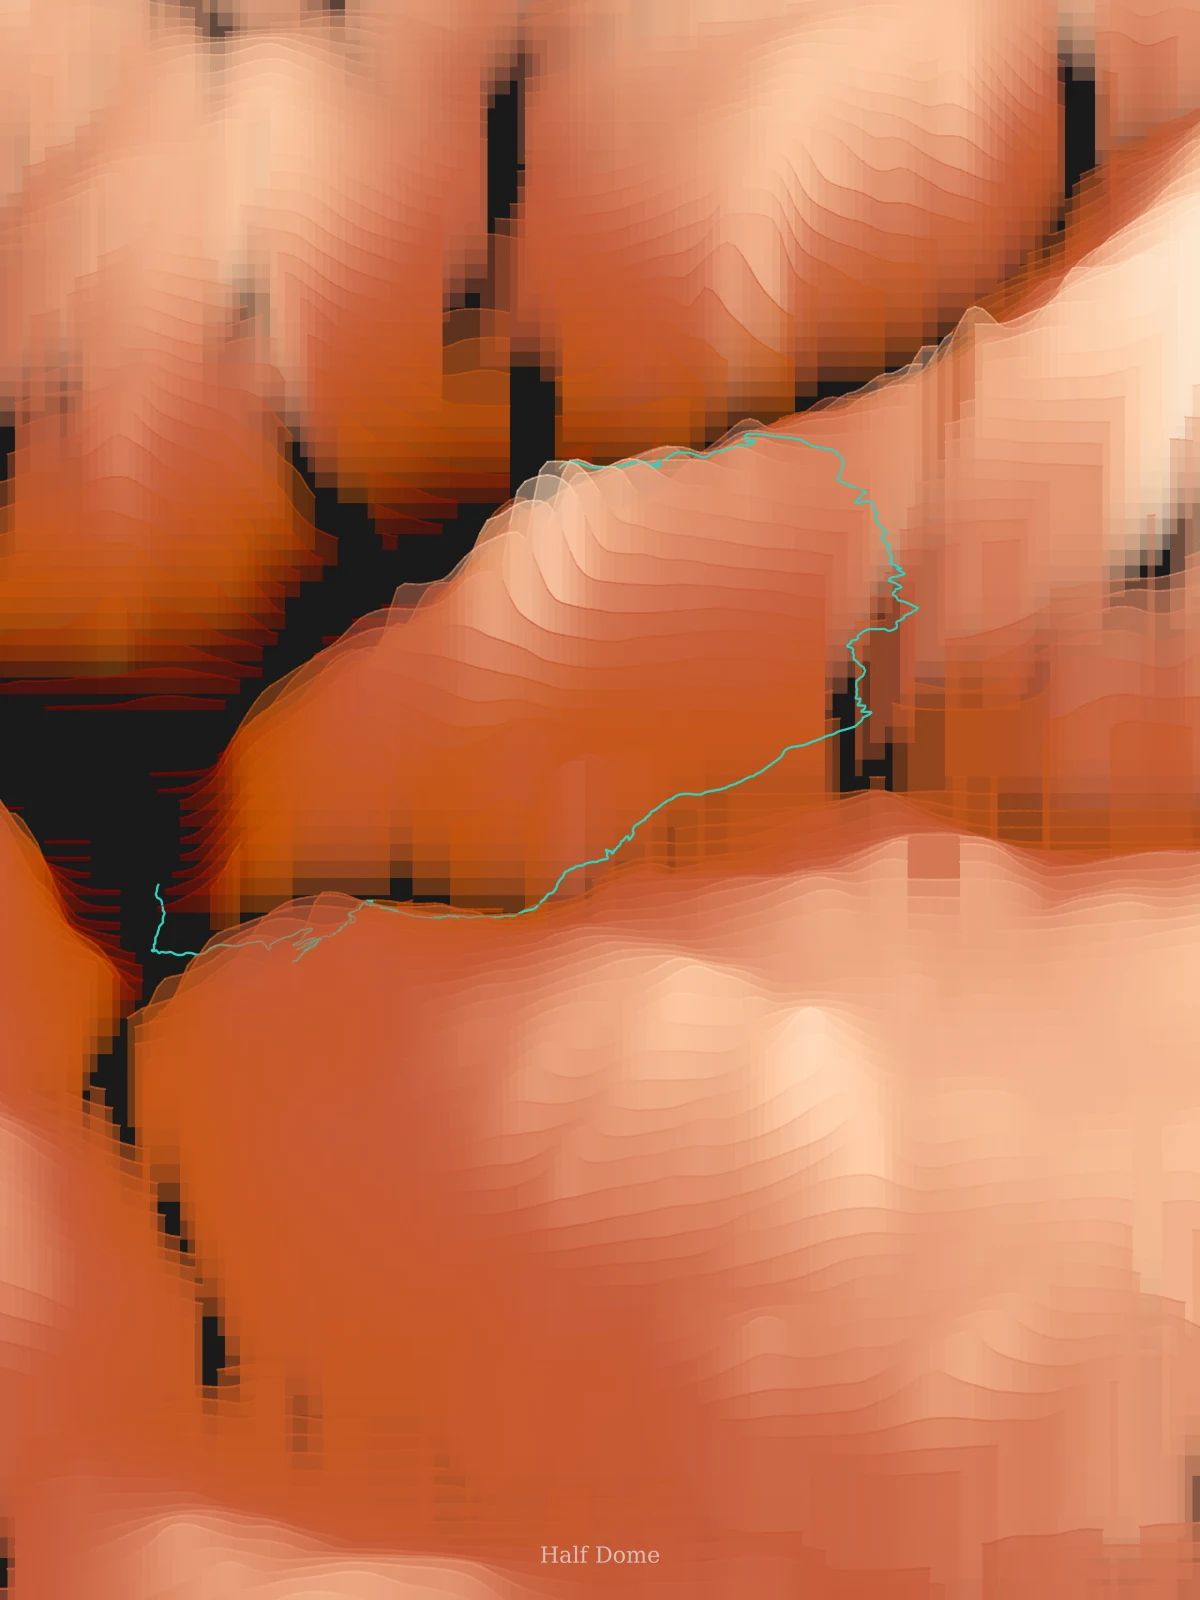
1. Upload or select your route
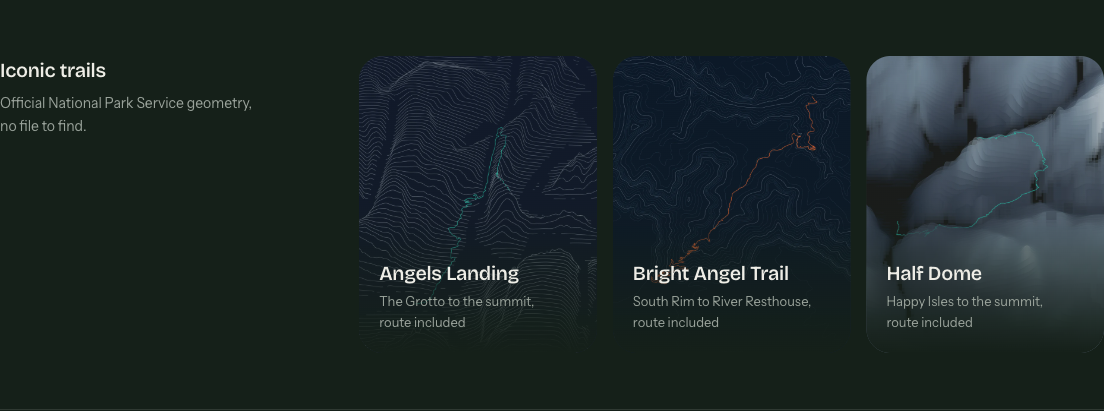
On the home page, go to Places to start from and choose Half Dome under Iconic trails. The route and Strata style open directly in the studio. The “Customize this example” button above takes you to the same starting point.
To use your own hike instead, select Upload a GPX file, then drag your .gpx file into the upload area or choose browse. Wait for the route map and point count, and check that the route is the one you intended. Then select Choose Product.
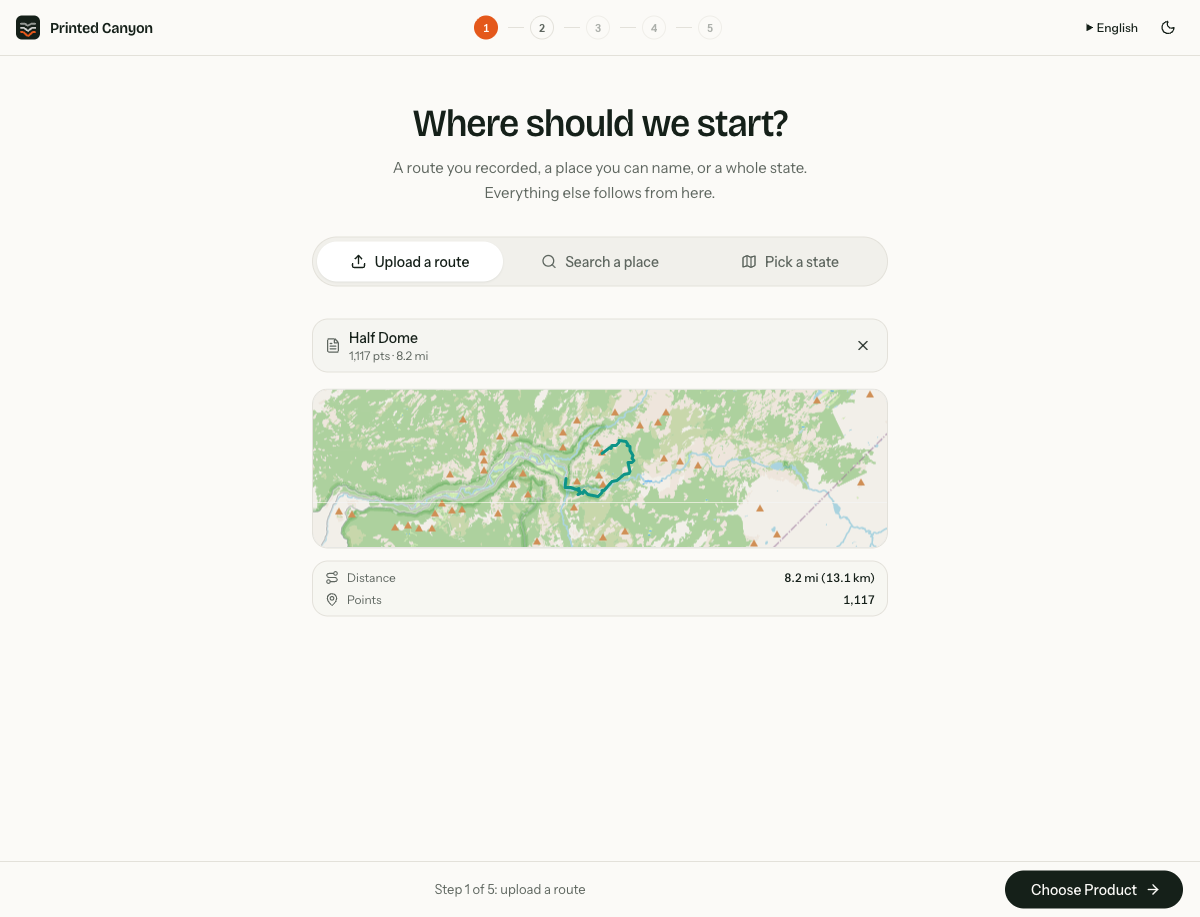
About this example: the bundled file follows Happy Isles via the John Muir Trail and Half Dome Trail to the summit, using National Park Service trail geometry. It is an artwork input, not a personal activity recording or a round-trip distance. See the NPS Half Dome page for visitor information.
2. Choose Strata, or explore another style
After uploading, select Strata on the product screen and choose Continue. If you started from the Half Dome example, Strata is already selected. Use Product in the progress bar to explore other styles once generation finishes.
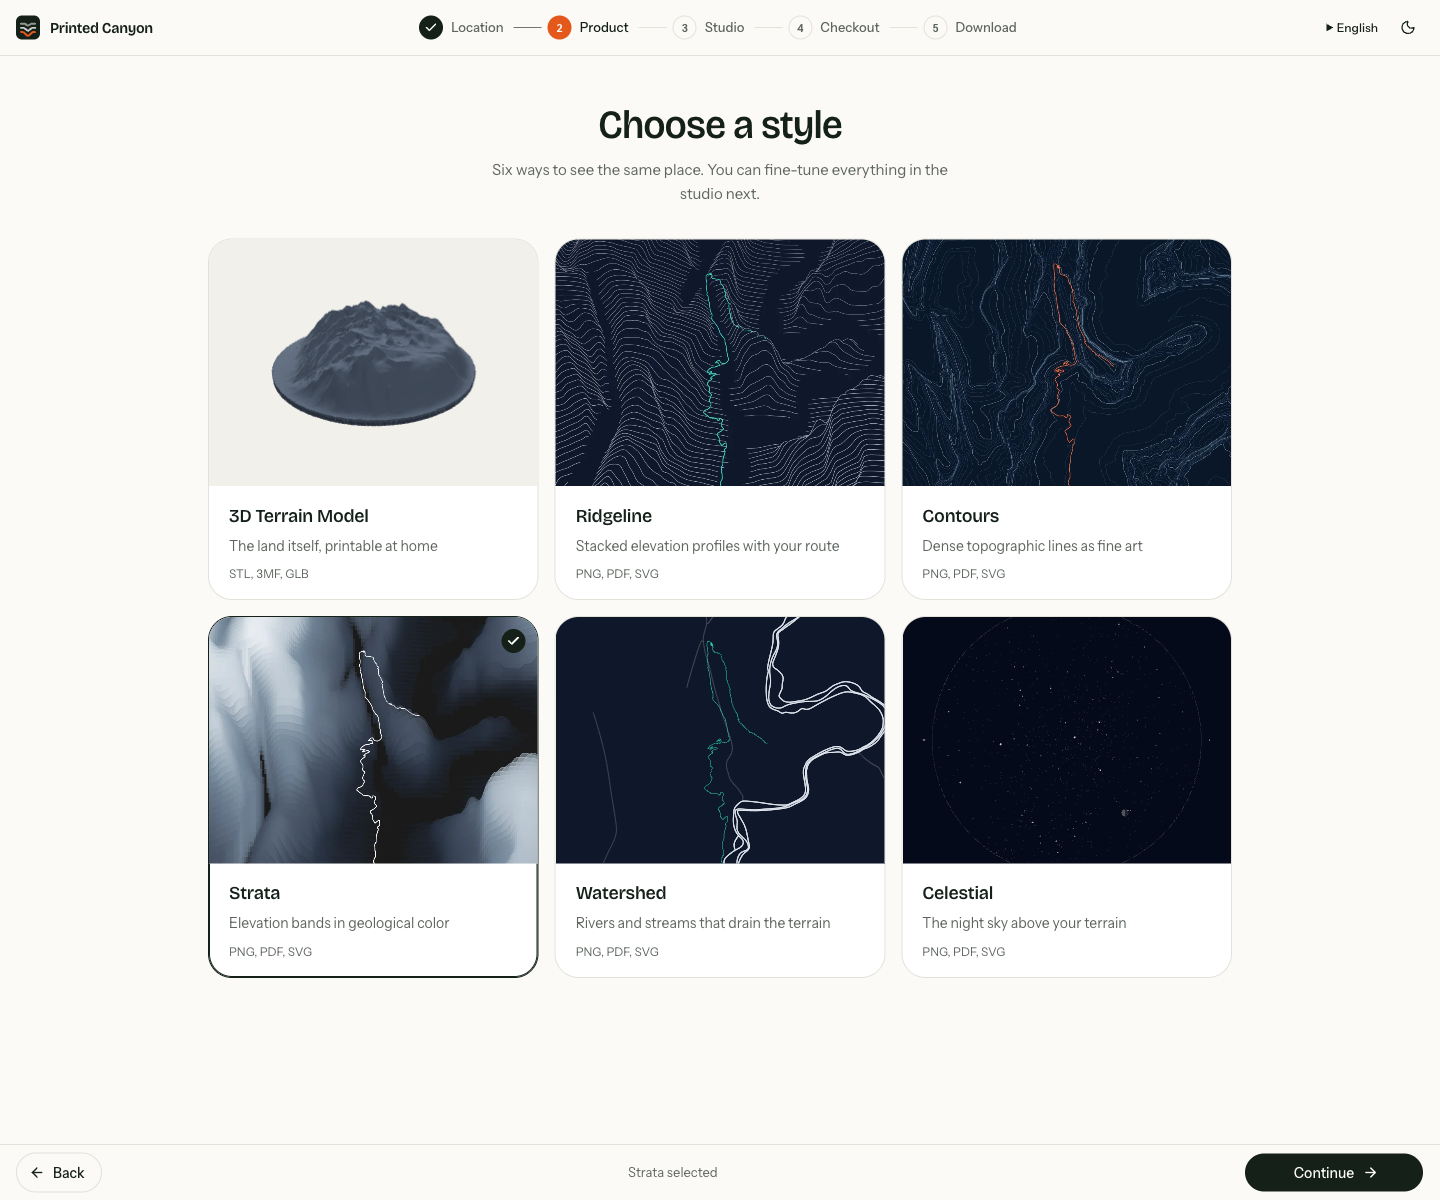
Ridgeline emphasizes stacked terrain profiles; Contours emphasizes topographic lines. The 3D Terrain Model option creates model files, so choose a poster style when your goal is a paper print.
3. Adjust the design in the studio
In Palette, keep Sandstone, background #1a1a1a and trail highlight #2dd4bf. The turquoise trail stands out against the warm terrain. Try another palette if you like, then return to Sandstone to match this example.
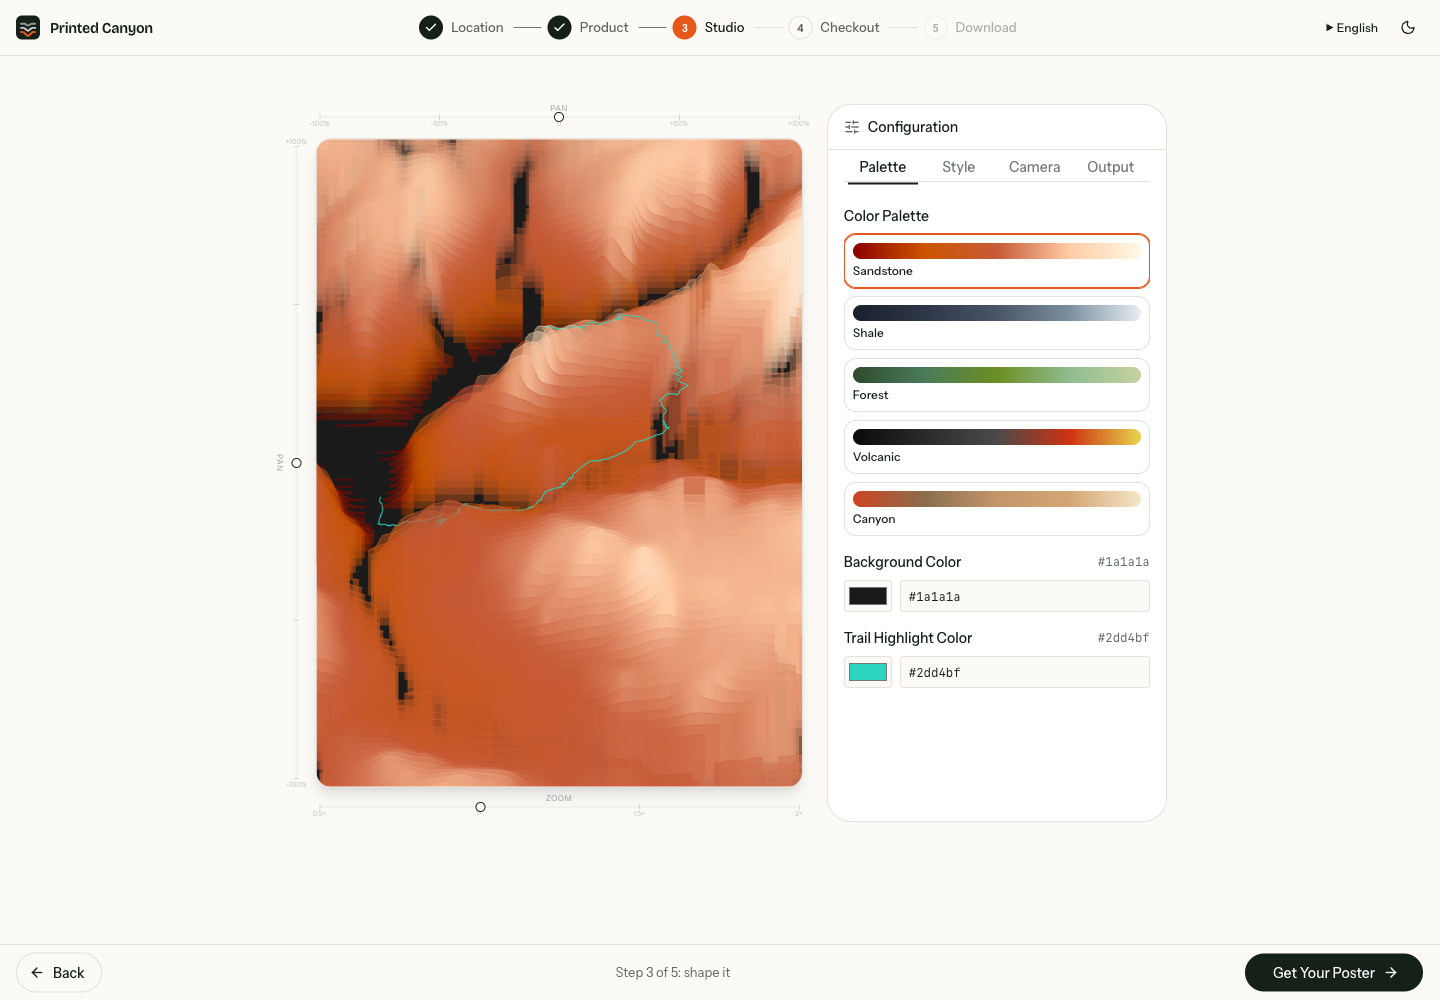
The Style tab changes terrain detail and the trail’s appearance. More lines add detail; vertical exaggeration changes the relief. For the result shown here, keep the default settings below. Use pan and zoom to change the composition, and wait for the preview to refresh after a change.
- Number of Lines
- 80
- Vertical Exaggeration
- 120
- Line Width
- 1.3×
- Trail Glow Width
- 3.5
- Trail Depth Fade
- 0.4
- Atmosphere Fade
- 0.5
- Camera
- Default: azimuth 0°, altitude 60°, perspective 0.8
- Framing
- Zoom 1×; both pan controls at 0
In Output, keep the poster size at 18x24, enter Half Dome in Title Text, and keep Output DPI at 300. This title is the one change we made to the example’s default design.
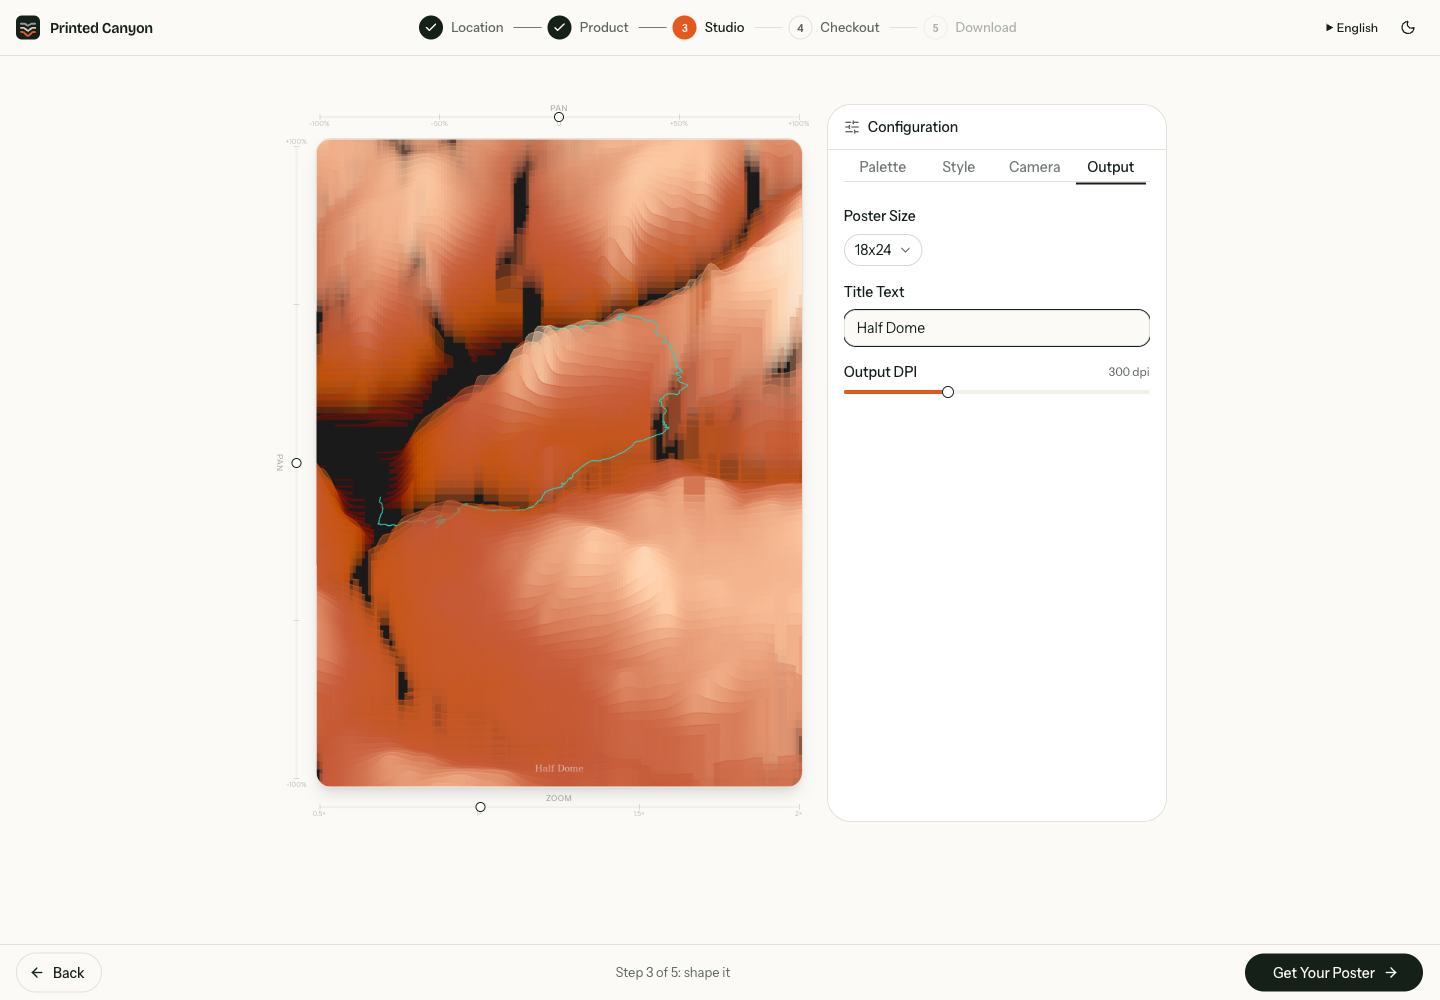
4. Generate and download the actual artwork
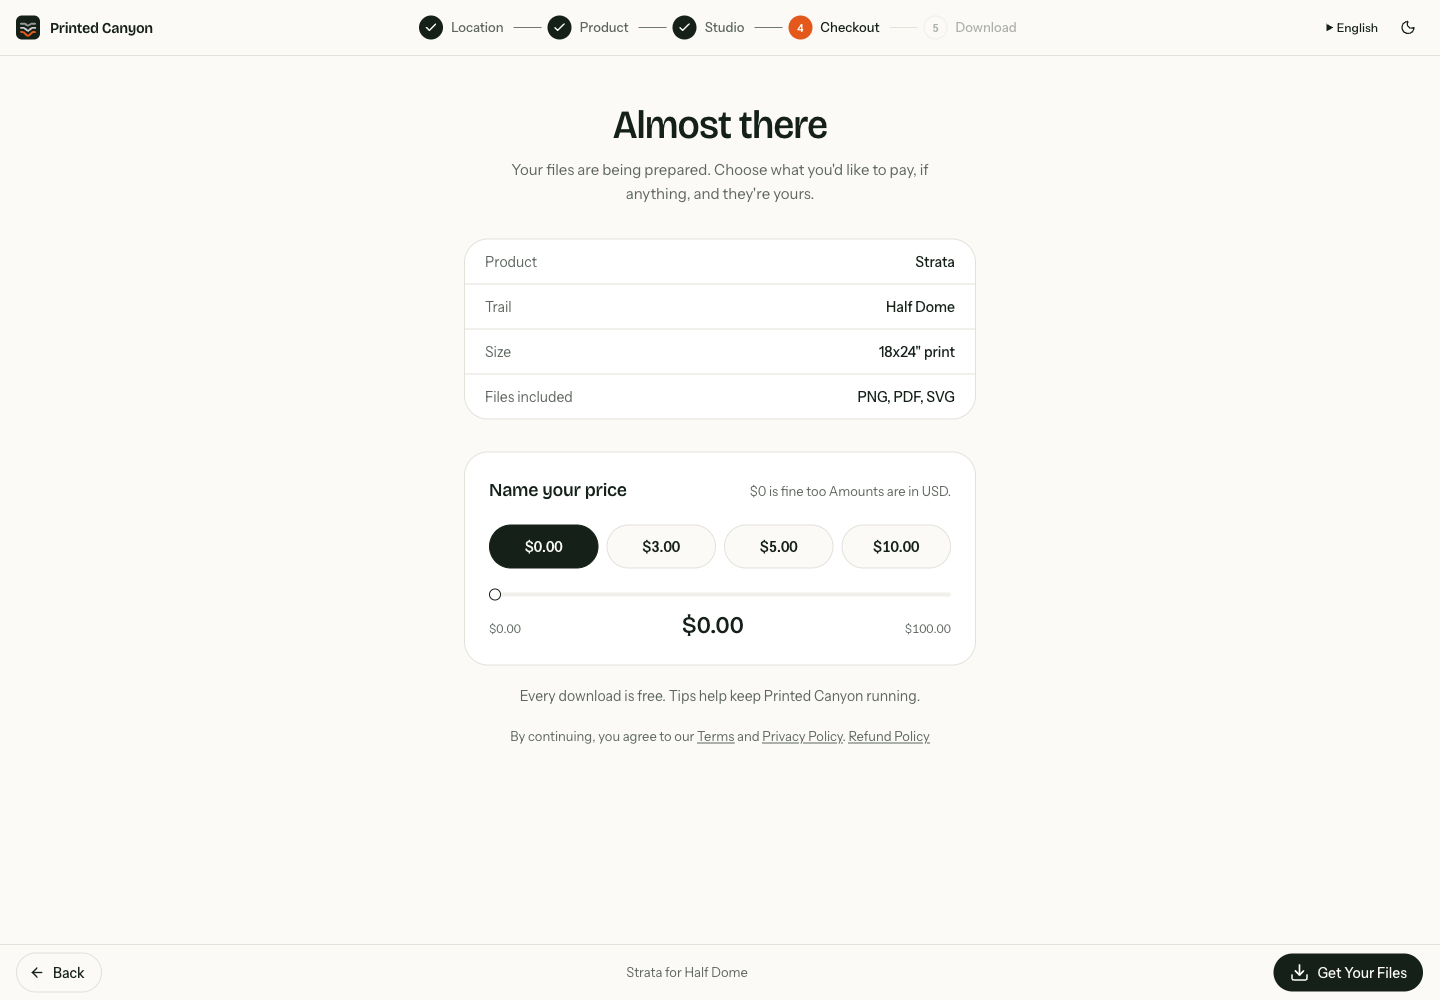
Choose Get your poster and wait for the final files to generate. In checkout, choose what you would like to pay. For this walkthrough we selected Free, then Get Your Files. A contribution is optional.
On Your files are ready, select PNG, PDF or SVG to download. We downloaded all three and checked the PNG dimensions and PDF page size. The artwork at the top of this guide is from that PNG export, not a screenshot of the studio.
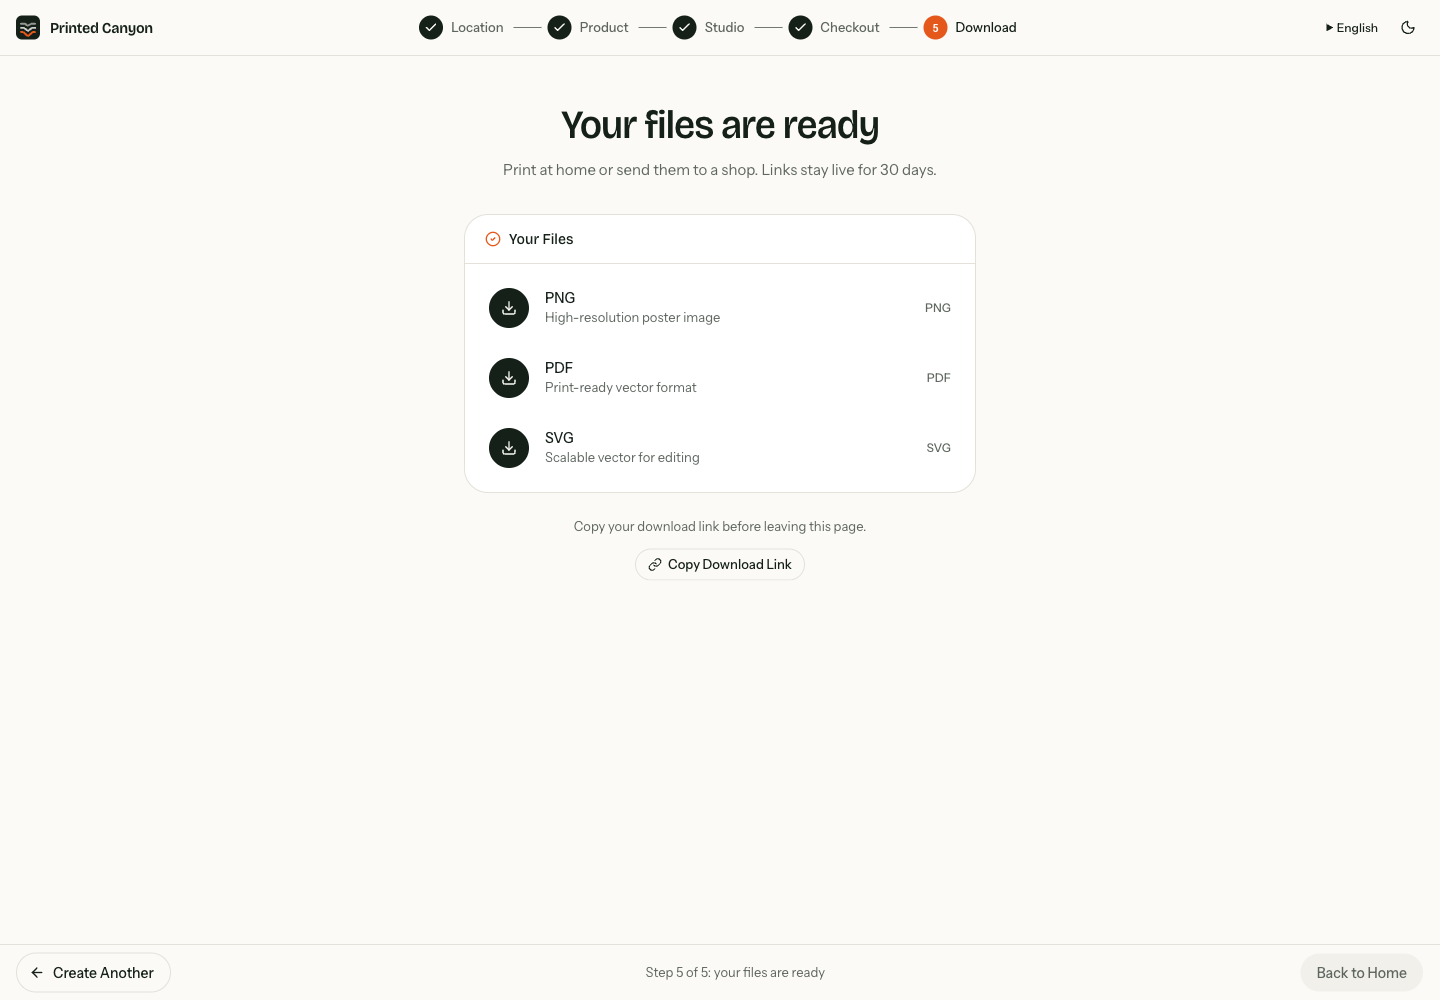
Save your files locally. The download screen says its links remain live for 30 days; use Copy Download Link if you want to return to them during that period.
5. Choose PNG, PDF or SVG for printing
| Format | When to use it | Check before printing |
|---|---|---|
| PNG | An image upload to a print service, or an image-based print workflow. | Pixel dimensions and crop. Our 18 × 24 inch export at 300 DPI is 5,400 × 7,200 pixels. Enlarging it reduces pixels per inch. |
| A document with a defined page size; a practical starting point for a print shop. | Paper size and scaling. Our PDF is one 18 × 24 inch page. Use actual size for that size print; “fit to page” changes the dimensions. | |
| SVG | Opening the artwork in a vector editor to prepare or adjust a print. | Dimensions, text and appearance in your editor. SVG support varies between print services; export a PDF if your printer needs one. |
Ask the print shop for its accepted format, finished size, bleed and color requirements before ordering. Check the downloaded file at full size, especially the trail and title. Keep the 3:4 aspect ratio for this example to avoid cutting off artwork. Paper, ink and screen settings can change the appearance of colors.
Printed Canyon supplies digital files. Arrange printing and framing yourself. For a smaller test print, scale the whole poster proportionally and check that the route still reads clearly.
Make this route your own
Open Half Dome in Strata, then follow the settings above or choose your own colors.
Customize this exampleHow this guide was made: we used Printed Canyon’s preview build to capture these creator screens. The Half Dome tutorial includes the artwork downloaded from that workflow. Screens show the English interface.