A GPX file contains geographic points describing a track or route. Printed Canyon uses those points to place your trail on the terrain. Start with an activity you recorded, a route you planned, or a trail file you have permission to use.
Upload your GPX file1. Find the route you want to remember
Your own activity: open the hike, run or ride in the service that recorded it. A recorded activity preserves the path you actually took, including detours. A planned route describes the intended path, which may differ.
A published trail: look for a GPX download from the trail provider, route planner or event organizer. Check that the route covers the section you want, and follow the provider’s usage terms. A map screenshot, web link or PDF map is not a GPX track.
No file yet: the Half Dome example already includes a route, so you can try the creator immediately. Or make map art without a GPX file if you want the landscape itself.
2. Export a .gpx file, not a map image
On Strava’s website, open one of your activities, open the three-dot menu and select Export GPX. Save the file to your computer. See Strava’s official export instructions.
On AllTrails’ website, open the trail page, select Hit the trail, choose Export map file, and select GPX Track. See AllTrails’ official file-download instructions for its current options.
For another GPS device or service, look for its GPX export option. Save a single route to a folder you can find, such as Downloads. If you receive a ZIP archive, extract it and choose the .gpx file inside. Renaming a FIT, TCX, PDF or image file to .gpx does not convert it.
Before using a personal recording, review its start and finish. A route can reveal your home or another private location. Trim any part you do not want in the artwork using your activity service or route editor, then export again.
3. Upload it to Printed Canyon
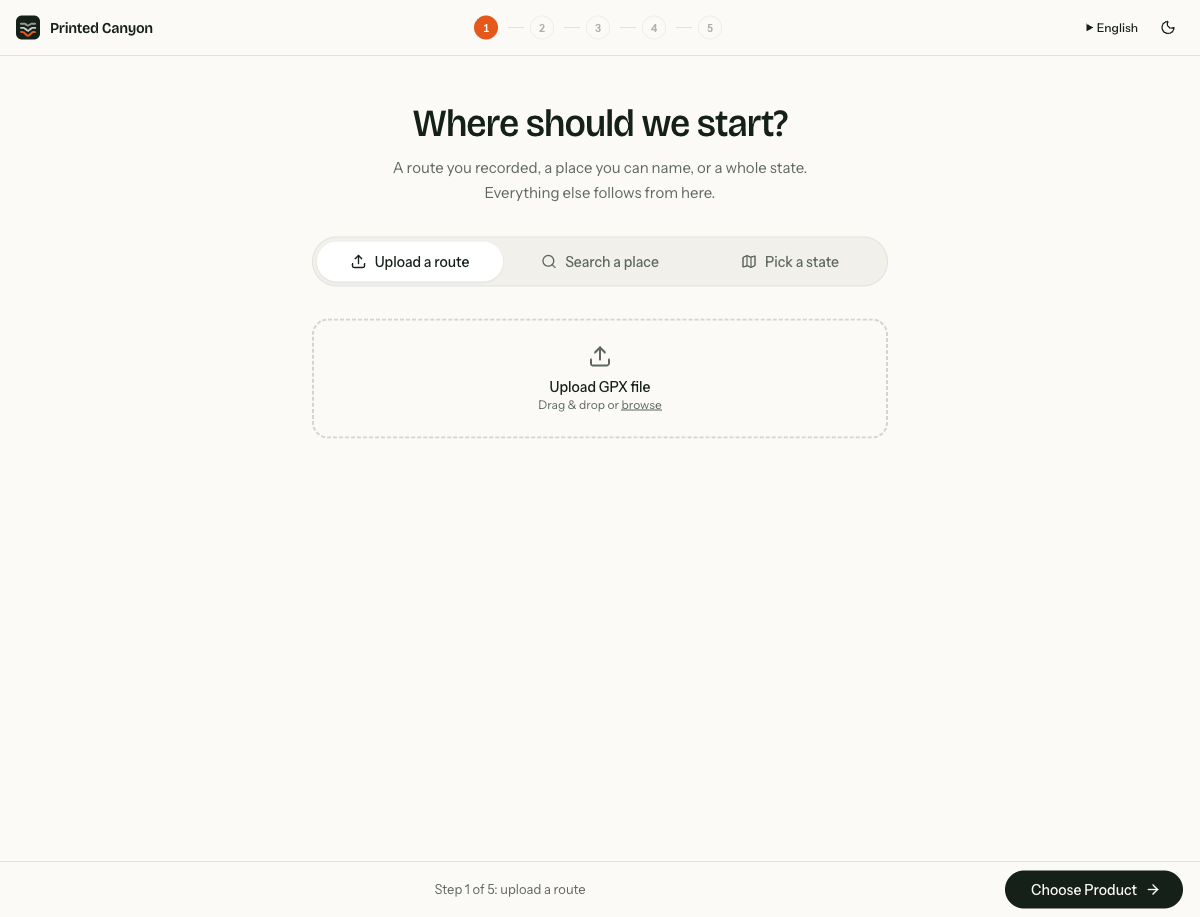
Open the creator’s upload step. Under Upload a route, drag and drop your .gpx file or select browse and choose it from your files. On a phone, save the GPX in your Files or Downloads app first so the file picker can find it.
After parsing, the creator shows a map, route name, distance and point count. In our Half Dome upload, that was 1,117 points and 8.2 mi (13.1 km). Your values will depend on your file.
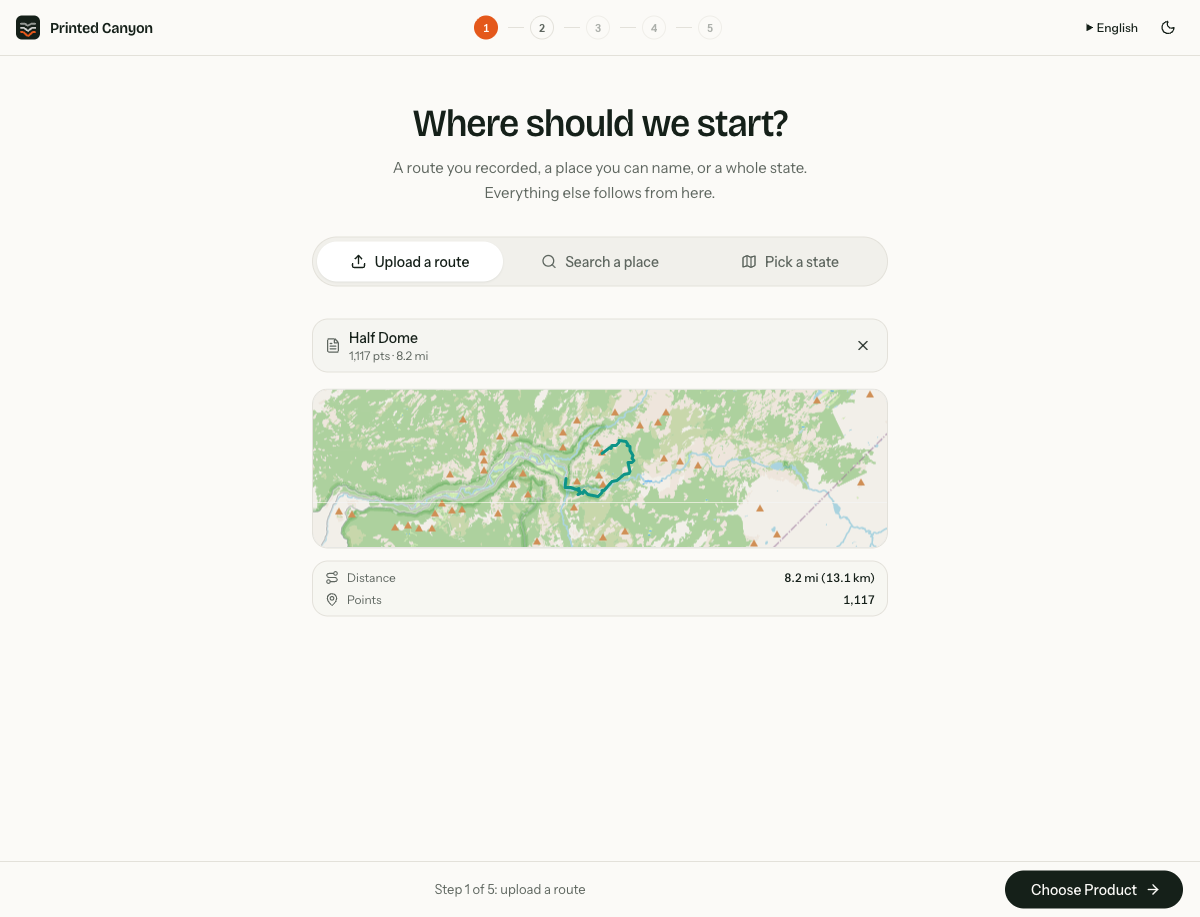
Check the start, finish and overall shape. An unexpected straight line or a much longer distance can indicate disconnected sections or extra tracks in the export. Export just the intended route if the preview is wrong. Select Choose Product when you are satisfied.
If the upload does not work
- The file picker will not select my file
- Check that you saved an actual .gpx file. Extract a ZIP archive first, or return to the source and choose GPX export.
- “This GPX file doesn’t contain a usable route”
- Printed Canyon needs track points or route points. A file containing only waypoint pins does not describe a route. Export GPX Track or a route with points, or start from a place instead.
- An XML parse error appears
- The file may be incomplete, damaged or a saved web page. Download it again from the source using its GPX export action.
- The map shows the wrong route
- Check the source activity and export only the intended track. Route names can be similar; compare the map as well as the filename.
If it still fails, contact Printed Canyon with the error message and the service you exported from.
Turn the route into something you can print
Follow the illustrated Half Dome walkthrough for style settings, the actual exported artwork and printing advice.
Make a printable trail posterHow this guide was made: we used Printed Canyon’s preview build to capture these creator screens. The Half Dome tutorial includes the artwork downloaded from that workflow. Screens show the English interface.